|
Pinball
Home
Restorations
Backbox
Decal Replacement Using the Dry Method
Playfield
Teardown Pictures
|
If you've seen my Cactus
Canyon restorations, you've seen me describe the "Wet"
method of applying decals. I highly recommend the Wet
method for first-timers. The dry method is a little cleaner,
but it doesn't allow for mistakes. So proceed at your own
risk.
On most of the cabinets I do, I put
on 3-4 coats of clear before applying the decals so the surface is
ultra smooth. On Fish Tales, I didn't do that and there's a
reason. On later WPC games, WMS applied a vinyl sheet to the
bare wood before the game's artwork was screened on. This made
the finish much smoother and decal-like. But on earlier games
such as Fish Tales, the artwork was screened directly on the wood.
Because of this, you see more of the wood grain than with later era
games.
I decided that the appearance of
some slight wood grain under the decals wood give it more of an
authentic look so I just sprayed 3 coats of Satin Black onto the
cabinet (any imperfections or damage was repaired prior with wood
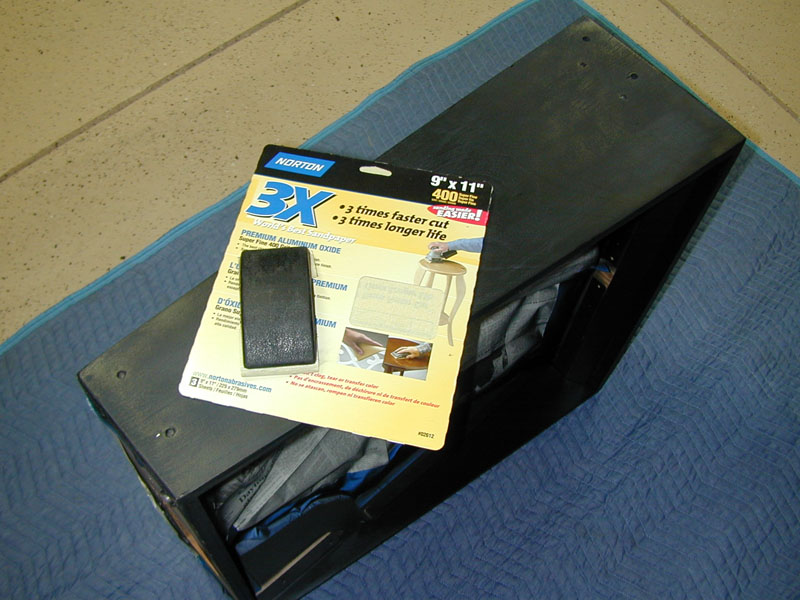
filler). Once the final coat was applied and had dried
sufficiently, I finish sanded it lightly with 220 grit, then finally
with 400 grit. The resulting surface was very smooth.
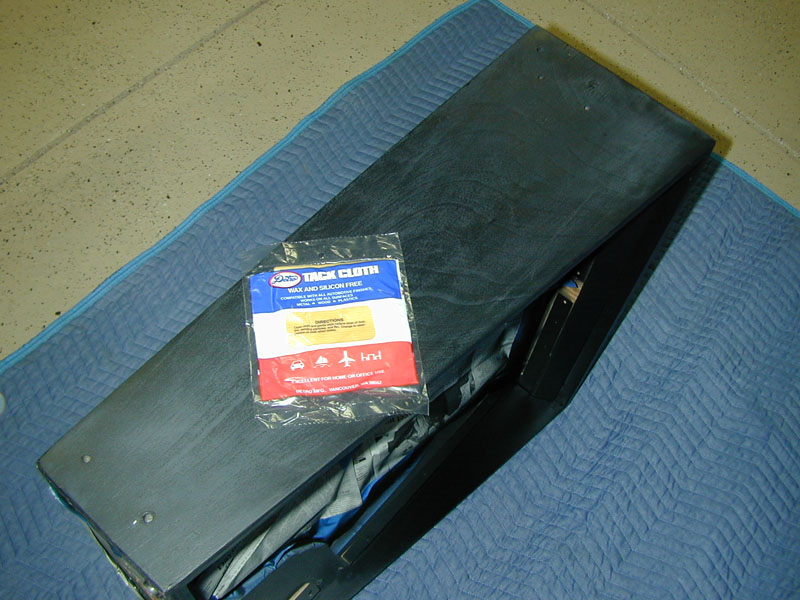
After sanding, I wiped down the
area with a slightly damp cloth to remove any dust or sanding
particles. After it dried in a few minutes, I then used a tack
cloth to remove any further dust bits and followed up with a quick
blow off with compressed air. Cleanliness is key here.
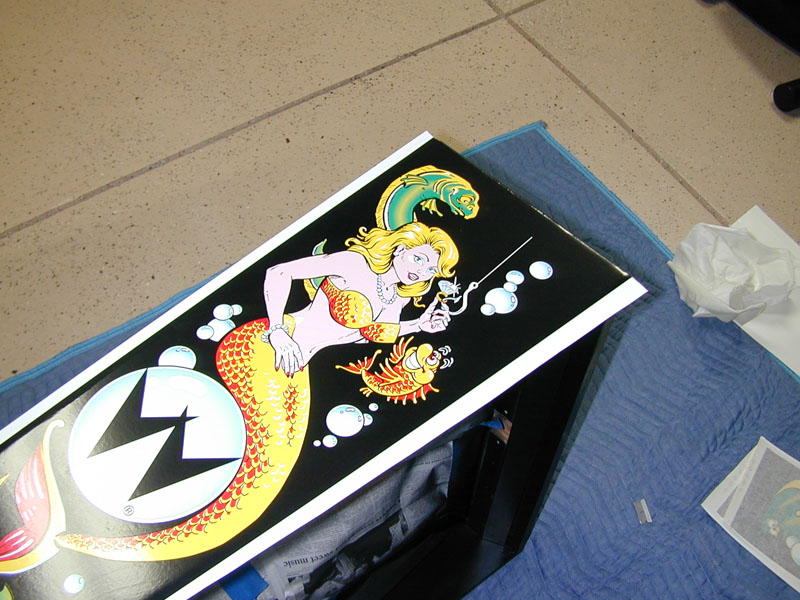
The decal to be applied is laid
face down on a soft surface (a packing blanket is used here).
The decal had been laid flat under weight for a couple of weeks prior
to application so it remains flat and is easier to work with.
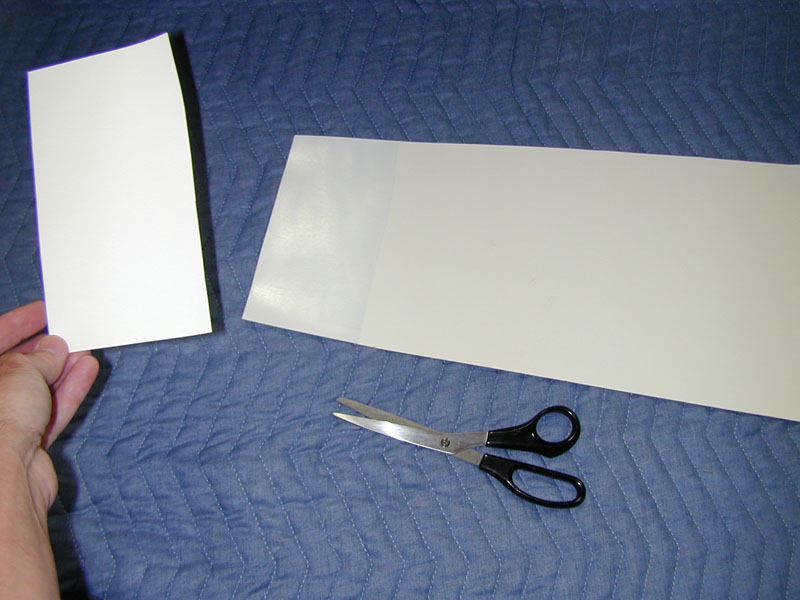
Use a tack cloth
and compressed air to remove any dust from the backing paper. Peel back a small section of the backing and cut it off with a pair
of scissors. It should be at least 4-6" long.
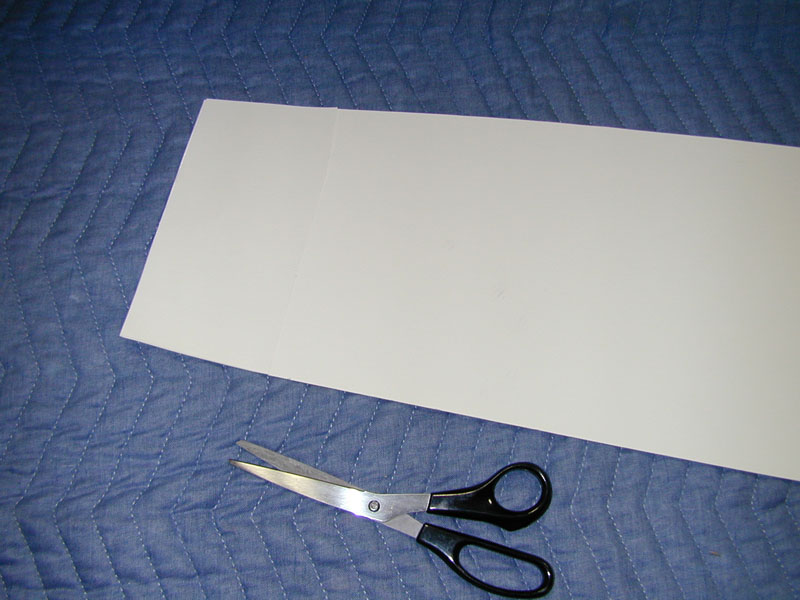
Immediately re-apply the backing
paper onto the decal. A slight overlap at the cut is
preferred.
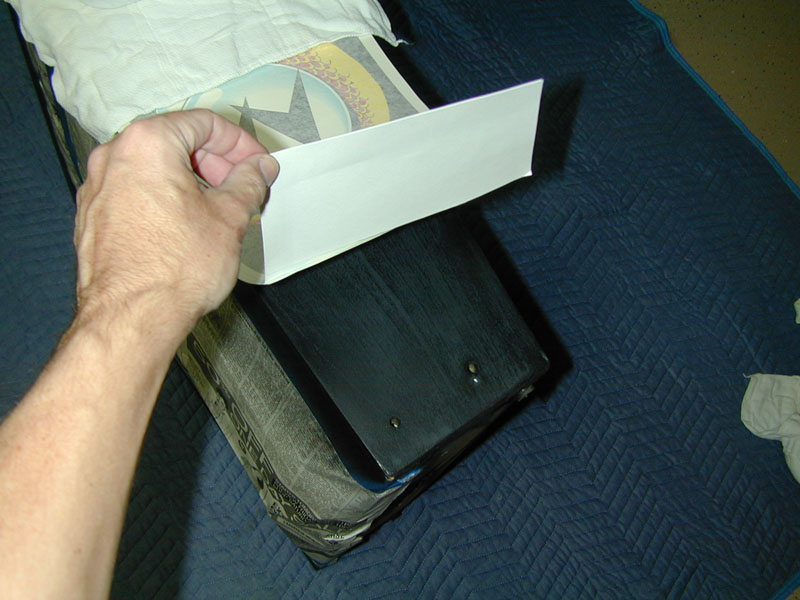
This next step may look a little
unconventional but it has worked extremely well for me. Place
the decal onto the cabinet (backing paper still in place) and align
the decals. Once it is aligned, put a heavy object (25-40
pounds) on the end
opposite where the small piece of backing paper was cut. Make
sure you put a soft cloth under the object so you don't mar the
decal. This weight will keep the decal in place for the next
few steps. Once the weight is in place, double, then
triple-check the placement of the decal until you are positive the
positioning is correct.
Some people use a similar approach
but have a helper hold the decal instead. Since I normally
work alone, I don't have that option. I also wouldn't want to
rely on someone else to hold the decal perfectly still for the next
few steps. This assures that the decal will stay in position.

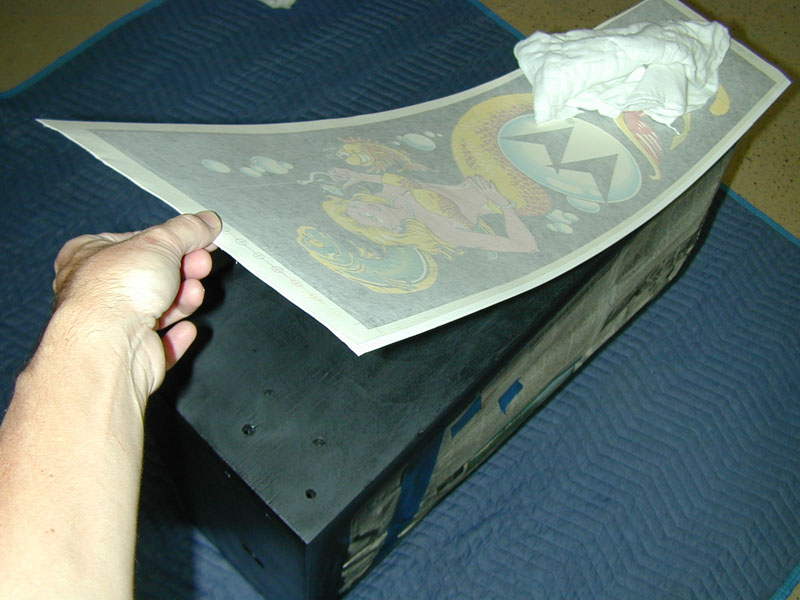
With the decal in position and
weighted, lift the end that has the backing paper cut. Hold
the decal away from the cabinet and remove the small backing paper
piece.
Hold the end of the decal and pull *slightly*
so there is no slack between the end of the decal and the weight.
The decal should still be held above the cabinet. Take a soft
cloth in your other hand and start rubbing the top of the decal onto
the cabinet. You should start at about where the backing paper
was cut. Rub back and forth and slowly move toward the end of
the decal. This works best if you hold the decal as close to
the cabinet as possible, maybe 1-2". Don't hold it
straight up.
Once you've reached the end of the
decals, check the alignment once more for good measure. When
you're sure everything is still in place, rub the decal firmly with
a soft cloth to help adhesion.
Remove the weight and cloth that
was on top of the decal.
Now at the opposite end, you will
repeat the process. Since the opposite side is attached to the
cabinet, it now acts as the "weighted" end.
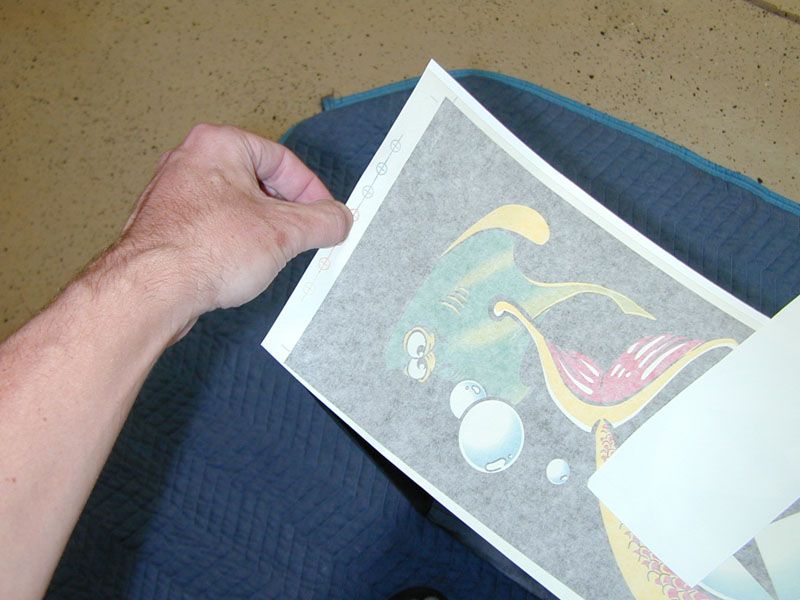
Lift the opposite edge of the decal
and peel off the backing paper starting from where the cut was made.
DO NOT REMOVE IT COMPLETELY YET. I usually peel it back
until the cut end is at the lifted end. This way I can hold both
the end of the decal and the backing paper. By not removing
the backing paper completely, the decal will stay semi-rigid and
will be much easier to work with.
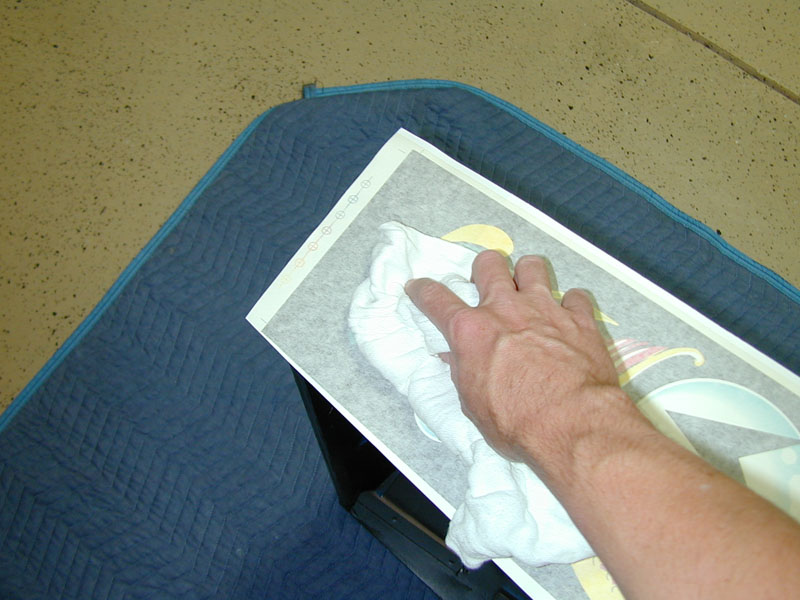
Start rubbing the decal onto the
cabinet with a soft cloth, starting at the end that is already
applied. DO NOT try to start rubbing where the
backing paper was cut since you could introduce air bubbles if
you're off a little bit. Keep applying the decal until you
reach the point where the backing paper is still applied.
Remove the remainder of the backing paper and continue applying the
decal.
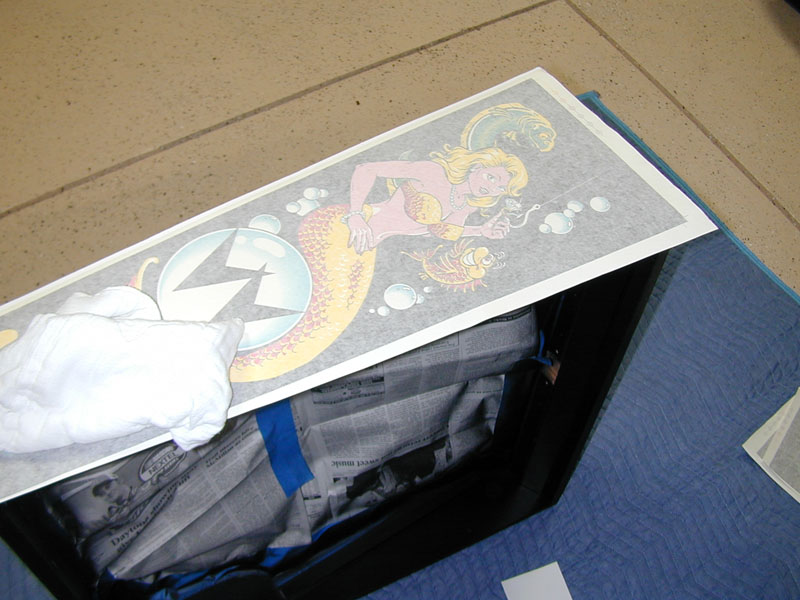
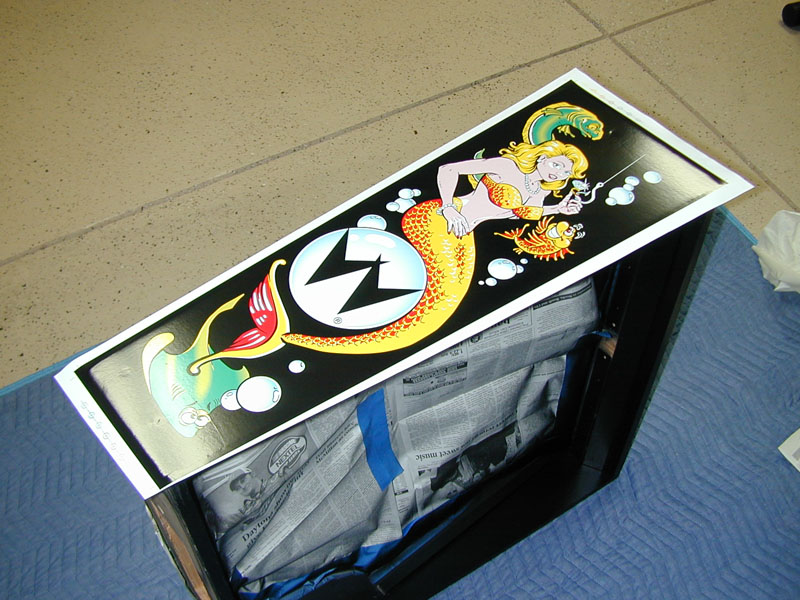
Now the decal is fully applied.
I like to rub the decal a few more times to assure adhesion. I
usually make long passes starting down the middle and working my way
outward.
To trim the decal, use a straight
edge and a *sharp* razor. I use a new single-edge razor for
every cabinet.
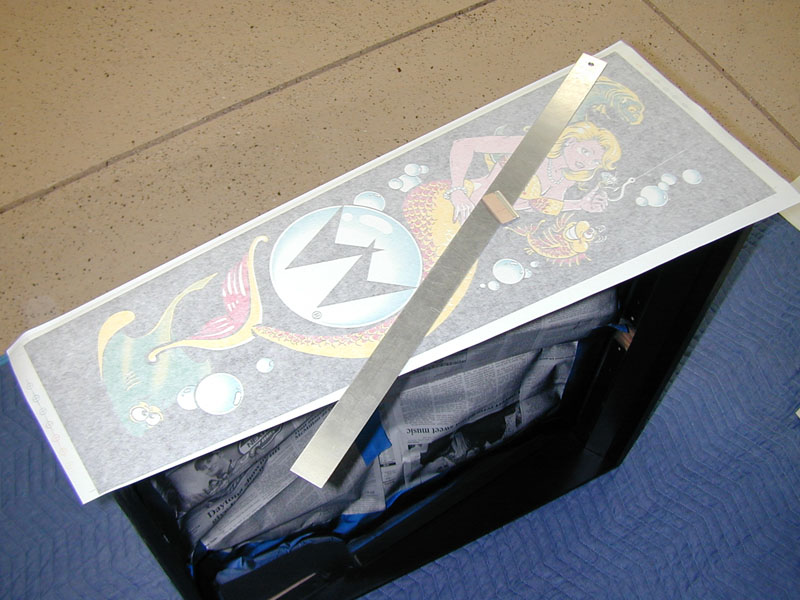
Before trimming, you may wish to
remove the premask as I did here. It's much easier to find the
edges of the cabinet this way, although you need to be a little more
careful so as not to scratch the decal.
Put the straight edge along the
edge of the cabinet. Triple check the position *before* you
cut. If in doubt, cut the decal further out as you can always
cut more away if necessary.
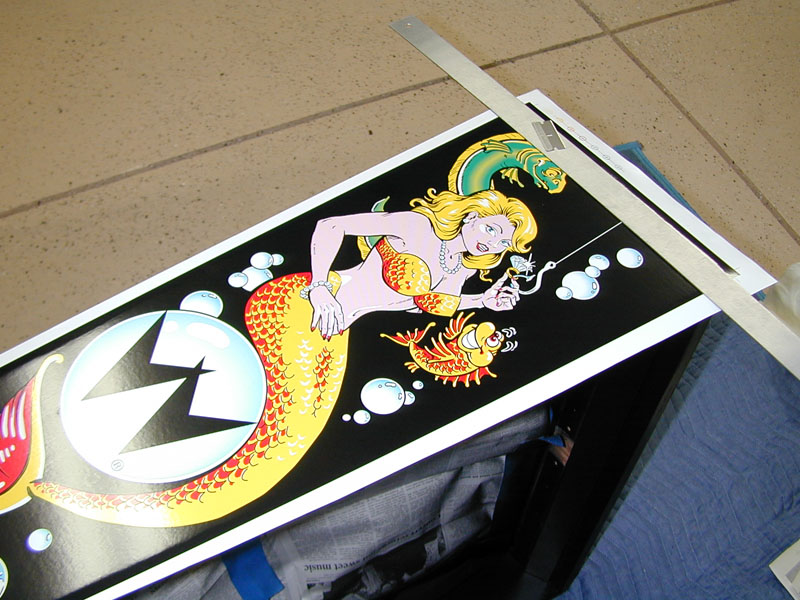
Here's the cut edge. Continue
for the remaining edges and you're done! I use a small
Exacto blade to cut out the bolt holes.
|