Cabinet
|
|
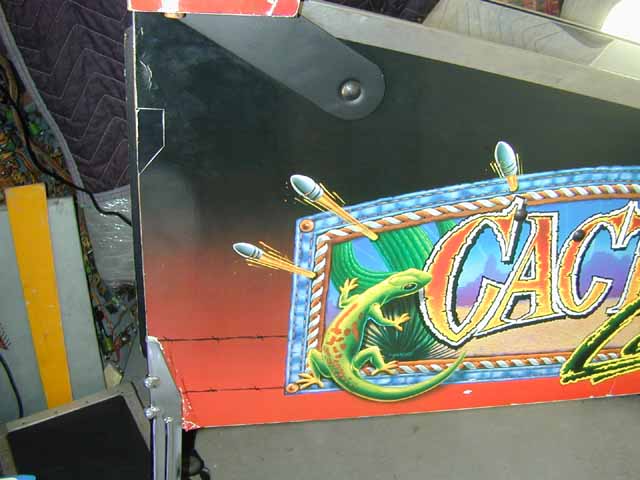
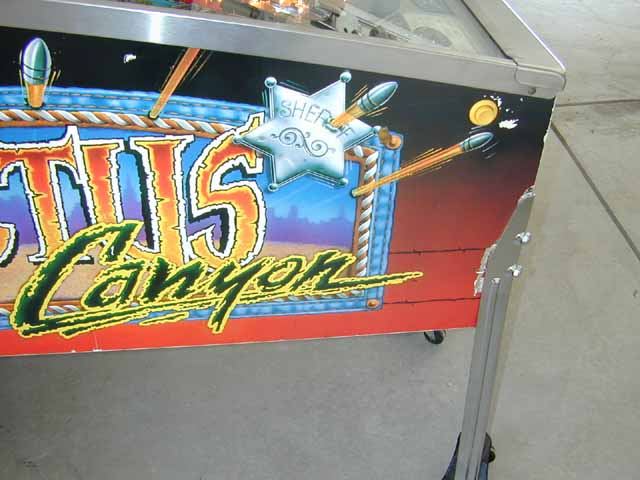
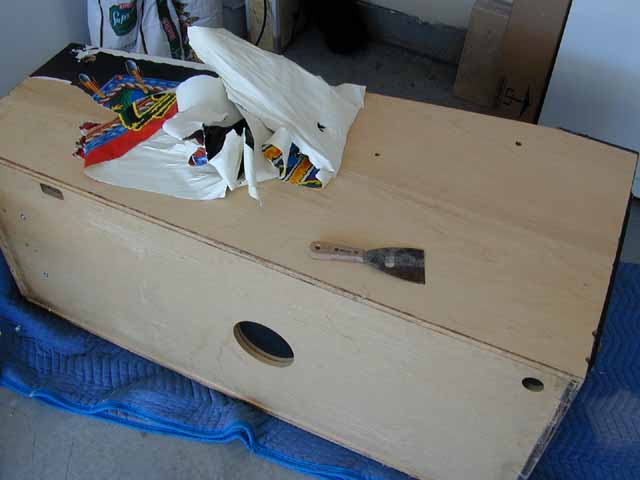
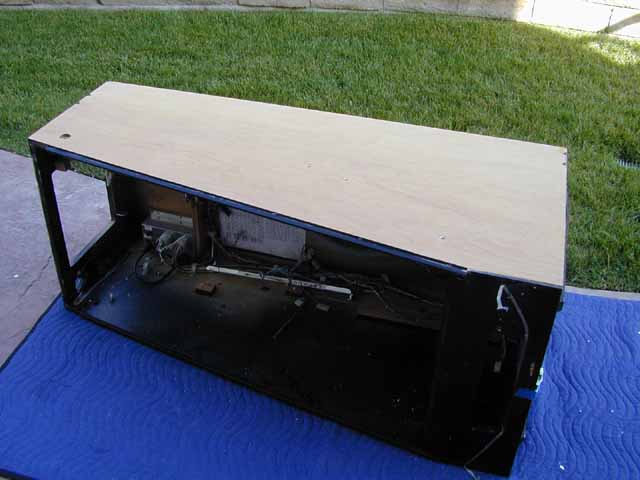
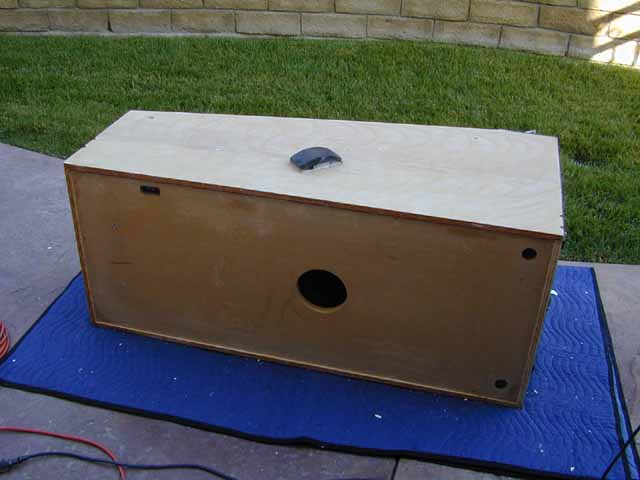
The following two pictures show the condition of the cabinet side before work begins.
Remove flipper button and all bolts going through the cabinet side.
Remove the side rail. Click here for more info.
Remove the decal using a metal putty knife.
In preparation for the clearcoat sealer, sand the raw wood first with a palm sander using 120 grit, then hand sand using 220 grit sandpaper.
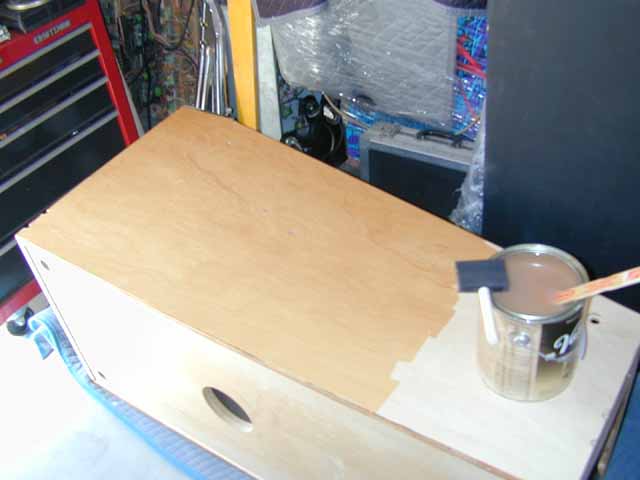
Once the cabinet has been sanded, use a tack cloth to remove any sawdust. Apply the first of three coats of Varathane using a foam brush. Apply each coat fairly thick as its purpose is to not only seal the wood, but to fill in any minor imperfections. Allow to dry until no longer tacky before recoating.
Here's the Varathane that is used. Gloss is used for a good reason. You'll see why shortly.
If each additional coat is applied after the suggested 12 hour cure time, a light sanding between coats will be required.
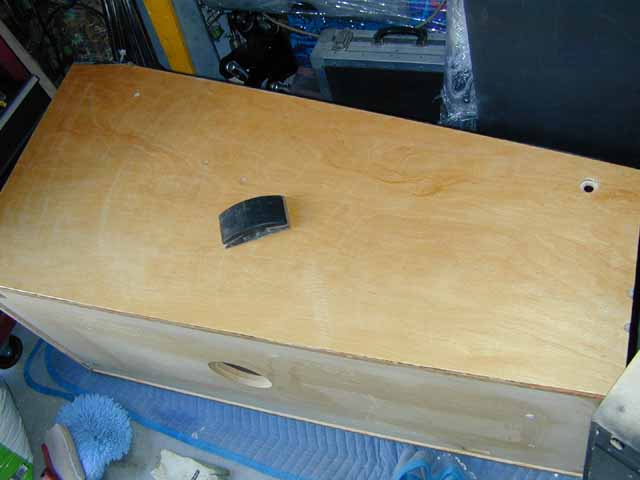
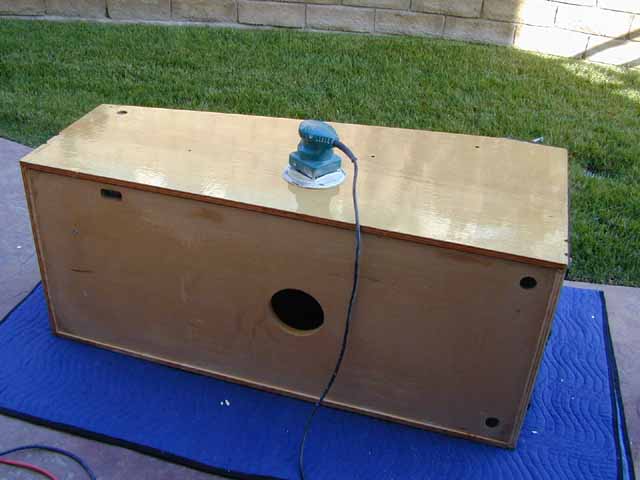
Once all three coats have been applied and allowed to dry for a minimum of 3 days, sand the cabinet using a palm sander. With a gloss finish, it will be easy to see the areas that need to be sanded as they will still be glossy. Keep the palm sander flat during this step. Once sanded, you may wish to paint the interior of the cabinet. Here's what it will look like before sanding...
and after sanding.
After you have finished with the palm sander at 120 grit, hand sand the cabinet using 220 grit.
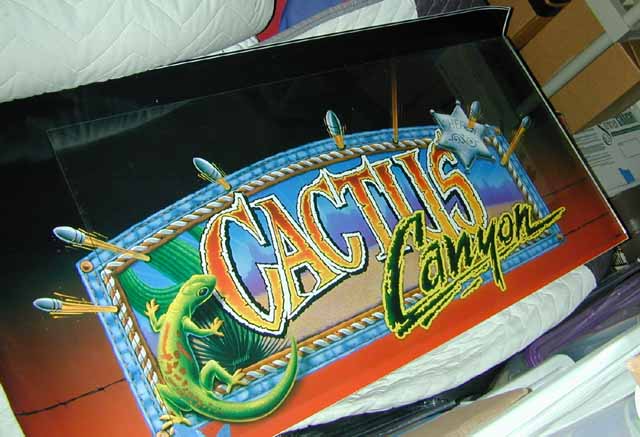
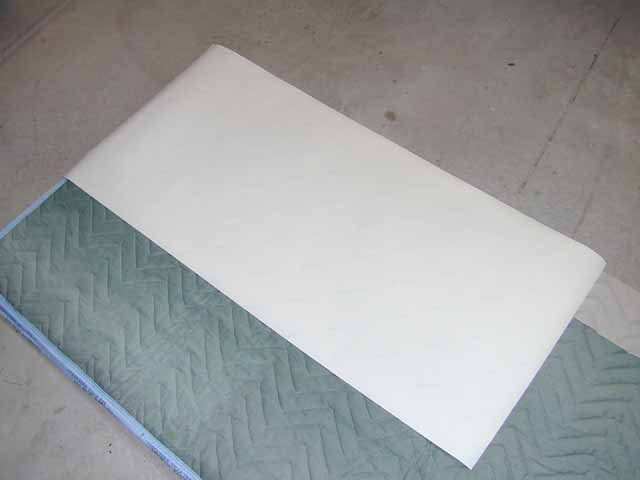
While all the cabinet prep work is going on, unroll the decals and place them under a playfield glass to help flatten them out.
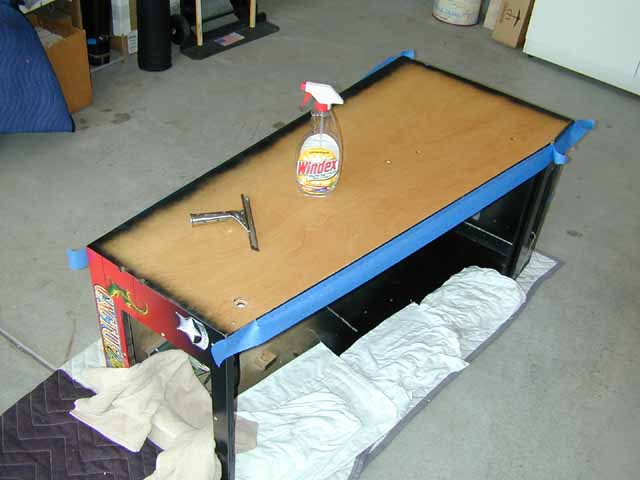
Spray black paint (satin) around the edges prior to decal application (and before the coin door decal is applied). None will be needed around the upper edge as there will be a rail over that area. Here you can see the tools that are used to apply the decal - Windex and a squeegee. Blue tape is placed around the edges to help direct the Windex that will be squeegee'd from under the decal. Cloths are placed to catch drips. Tissues are taped under the flipper button hole and bolt holes as well.
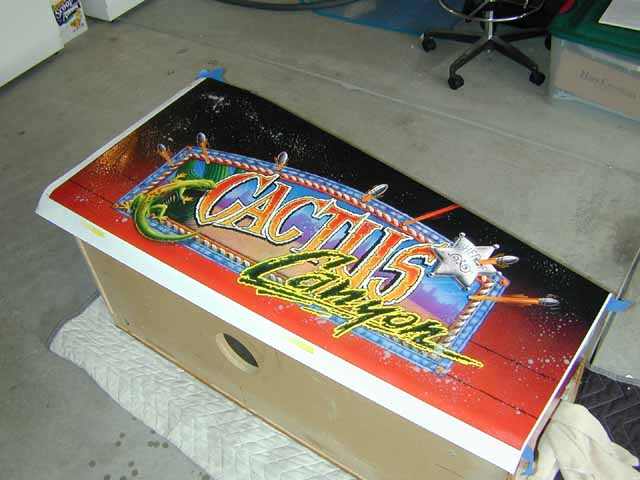
Lay the decal with the backing paper still in place on the cabinet to test fit the alignment. On this game, the barbed wire will be used to align it to the coin door decal that was applied first.
Remove the decal and spray the cabinet with liberal amounts of Windex. There should be NO dry spots. THE NEXT STEP IS A TWO PERSON JOB. DO NOT ATTEMPT THIS BY YOURSELF. Place the decal face down on a packing blanket or other scratch free surface. As one person holds two corners of the short side of the decal, the second person can peel off the backing paper. As the backing paper is removed, spray Windex over the back of the decal. Hold the decal flat on the floor until the paper is completely removed. The back of the decal should be completely covered with Windex.
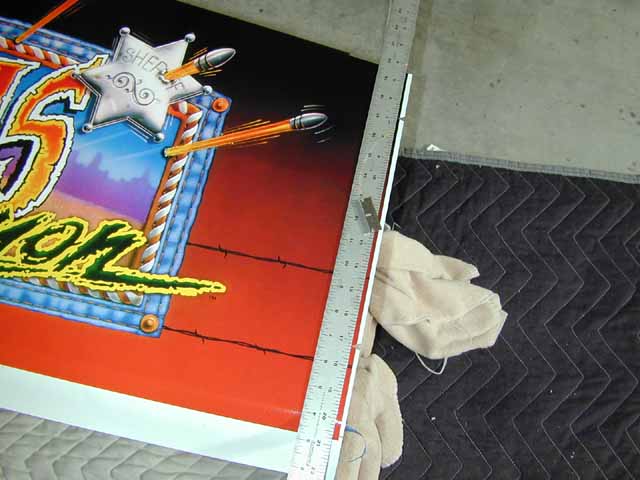
Again, USING TWO PEOPLE, lift the decal from the floor and place onto the cabinet. On this game, the front of the decal is aligned with the coin door using the barbed wires as a guide. Once the front is in place, use a ruler to measure the distance from the bottom barbed wire to the bottom of the cabinet. Ensure the rear of the decal is at the same distance. Once in place, spray the top of the decal with more Windex.
Squeegee the decal from the center outward. The Windex on top will not only help the squeegee slide easily over the surface, but you'll immediately know what areas you have already done.
Once the decal has been completely squeegee'd, trim the decal using a straight edge and a new razor blade. You can make small V-notches in the edge of the decal to help show the actual edge of the cabinet. The decal is trimmed about 1/32" back from the edge.
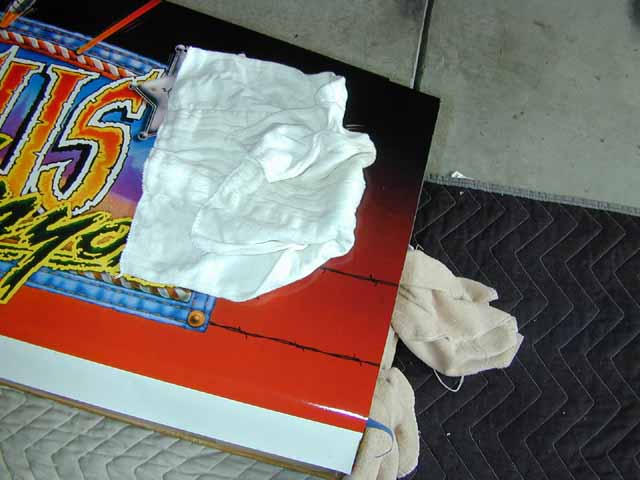
Once trimmed, use a soft clean cloth to press down the edge of the cabinet. Press from the center outward. Do NOT rub back and forth as the decal may lift and grab some fibers from the cloth.
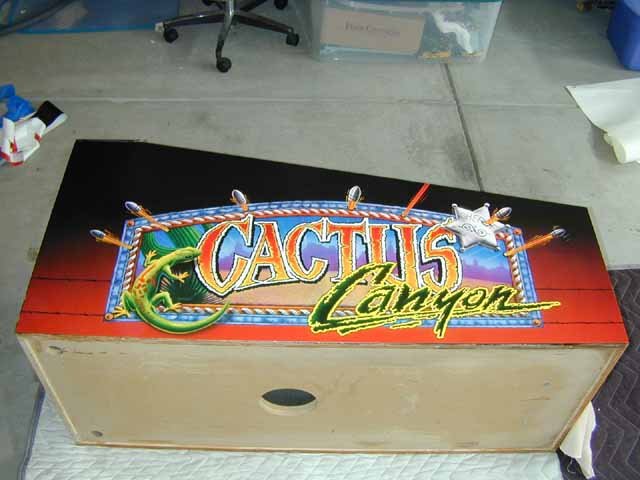
Here's the cabinet after trimming is complete. Once the decal has dried for three days, use an Exacto knife to trim the holes for the leg bolts and for the playfield support/head bolts.
|