 |
 |
 |
 |
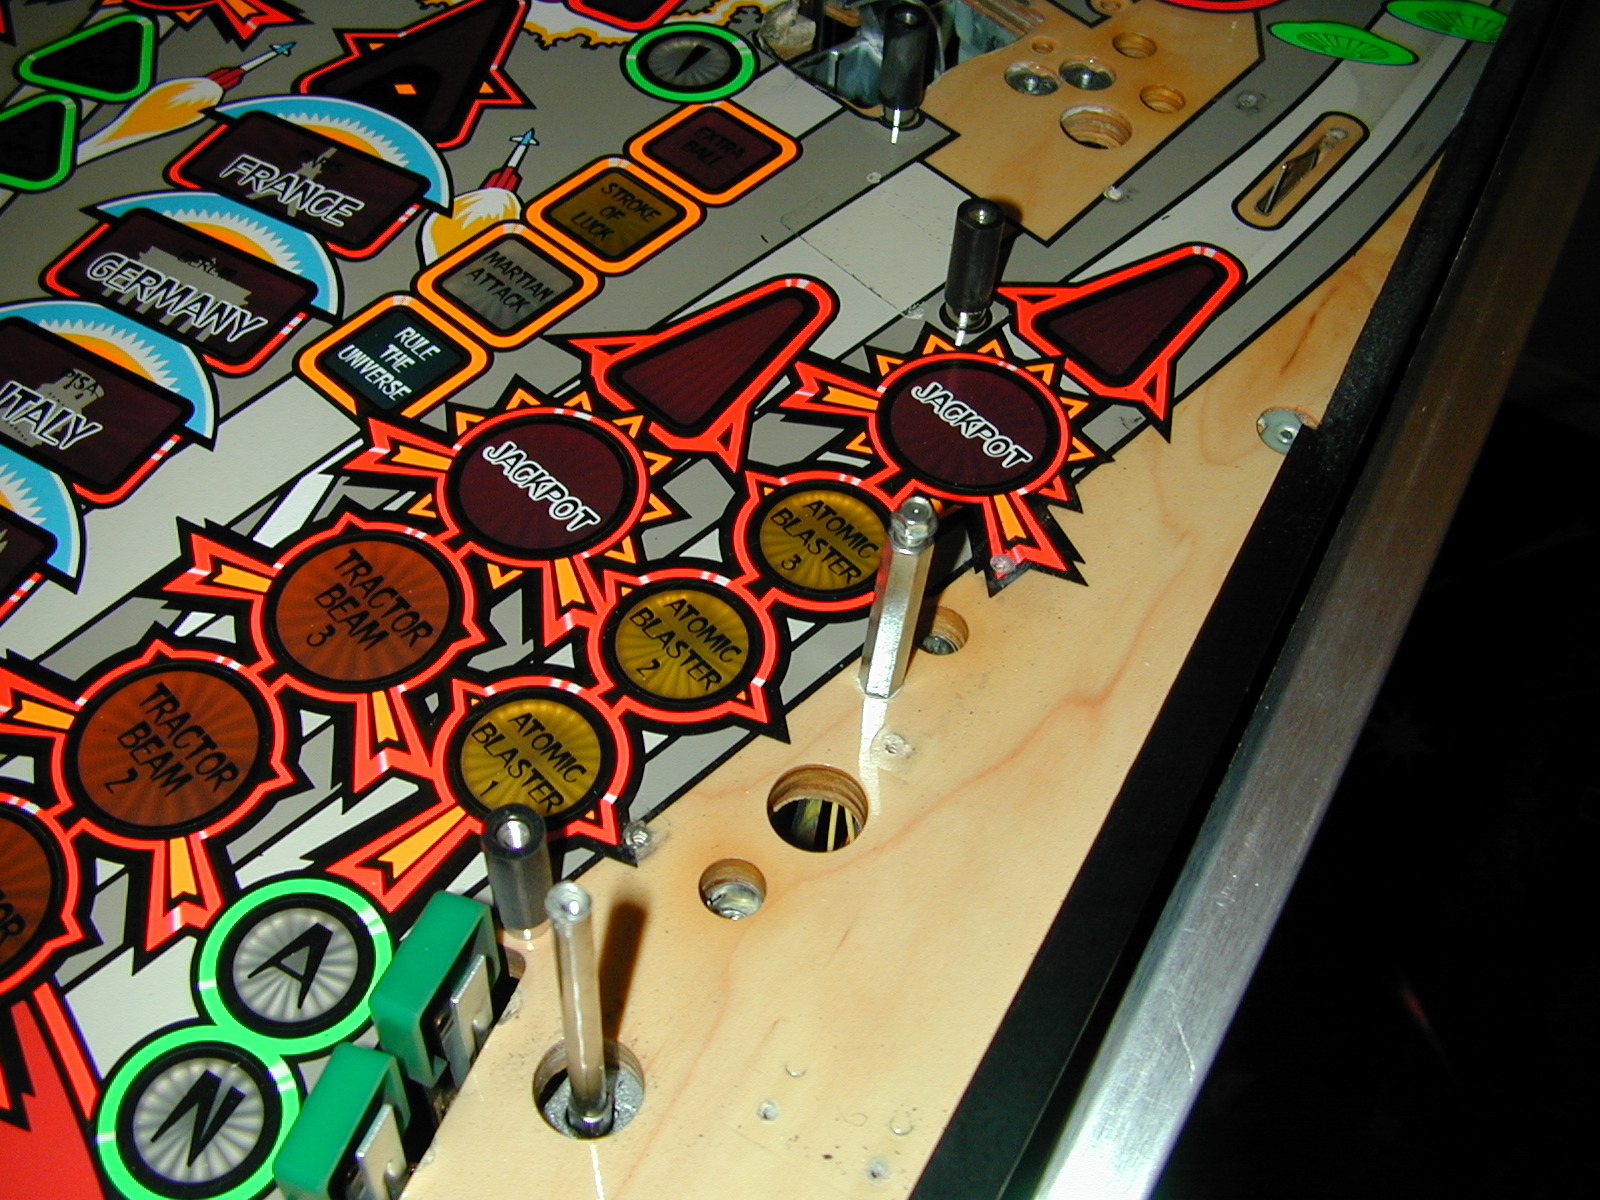
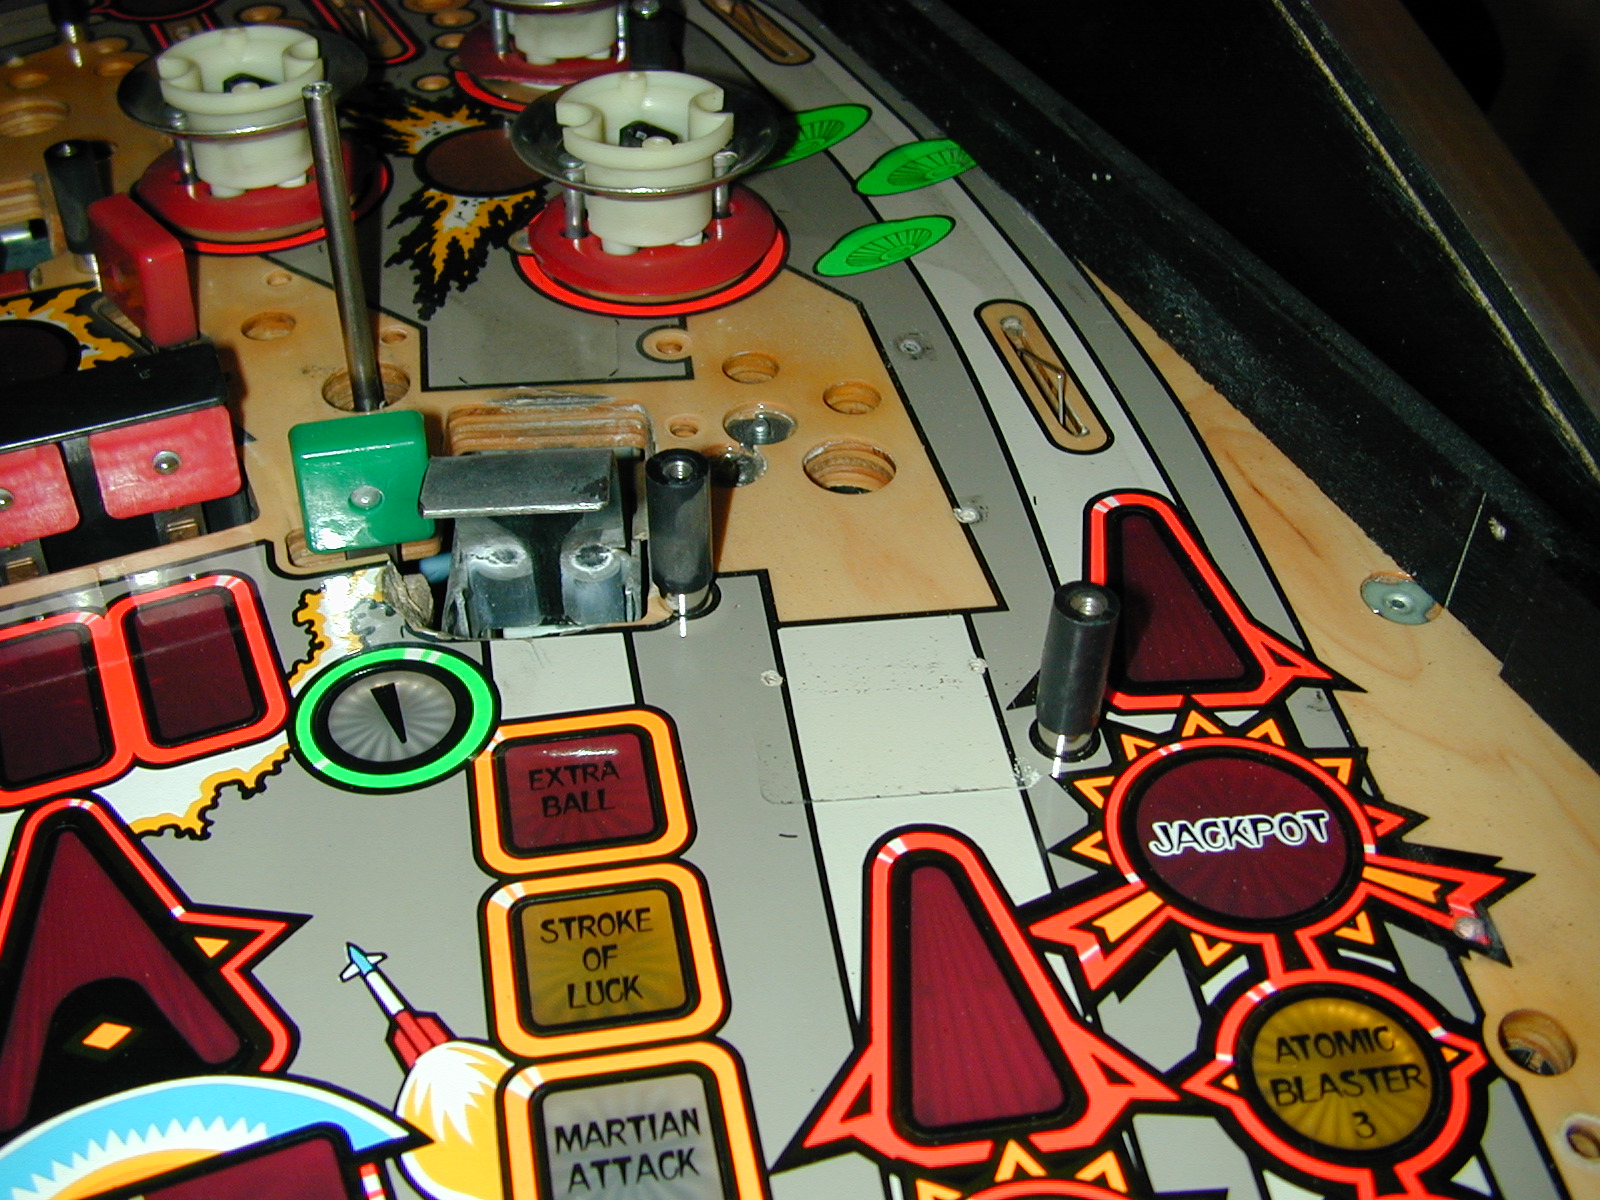
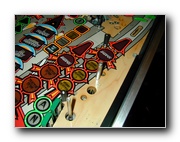
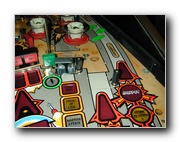
49
Standoff to right of Atomic Blaster
|
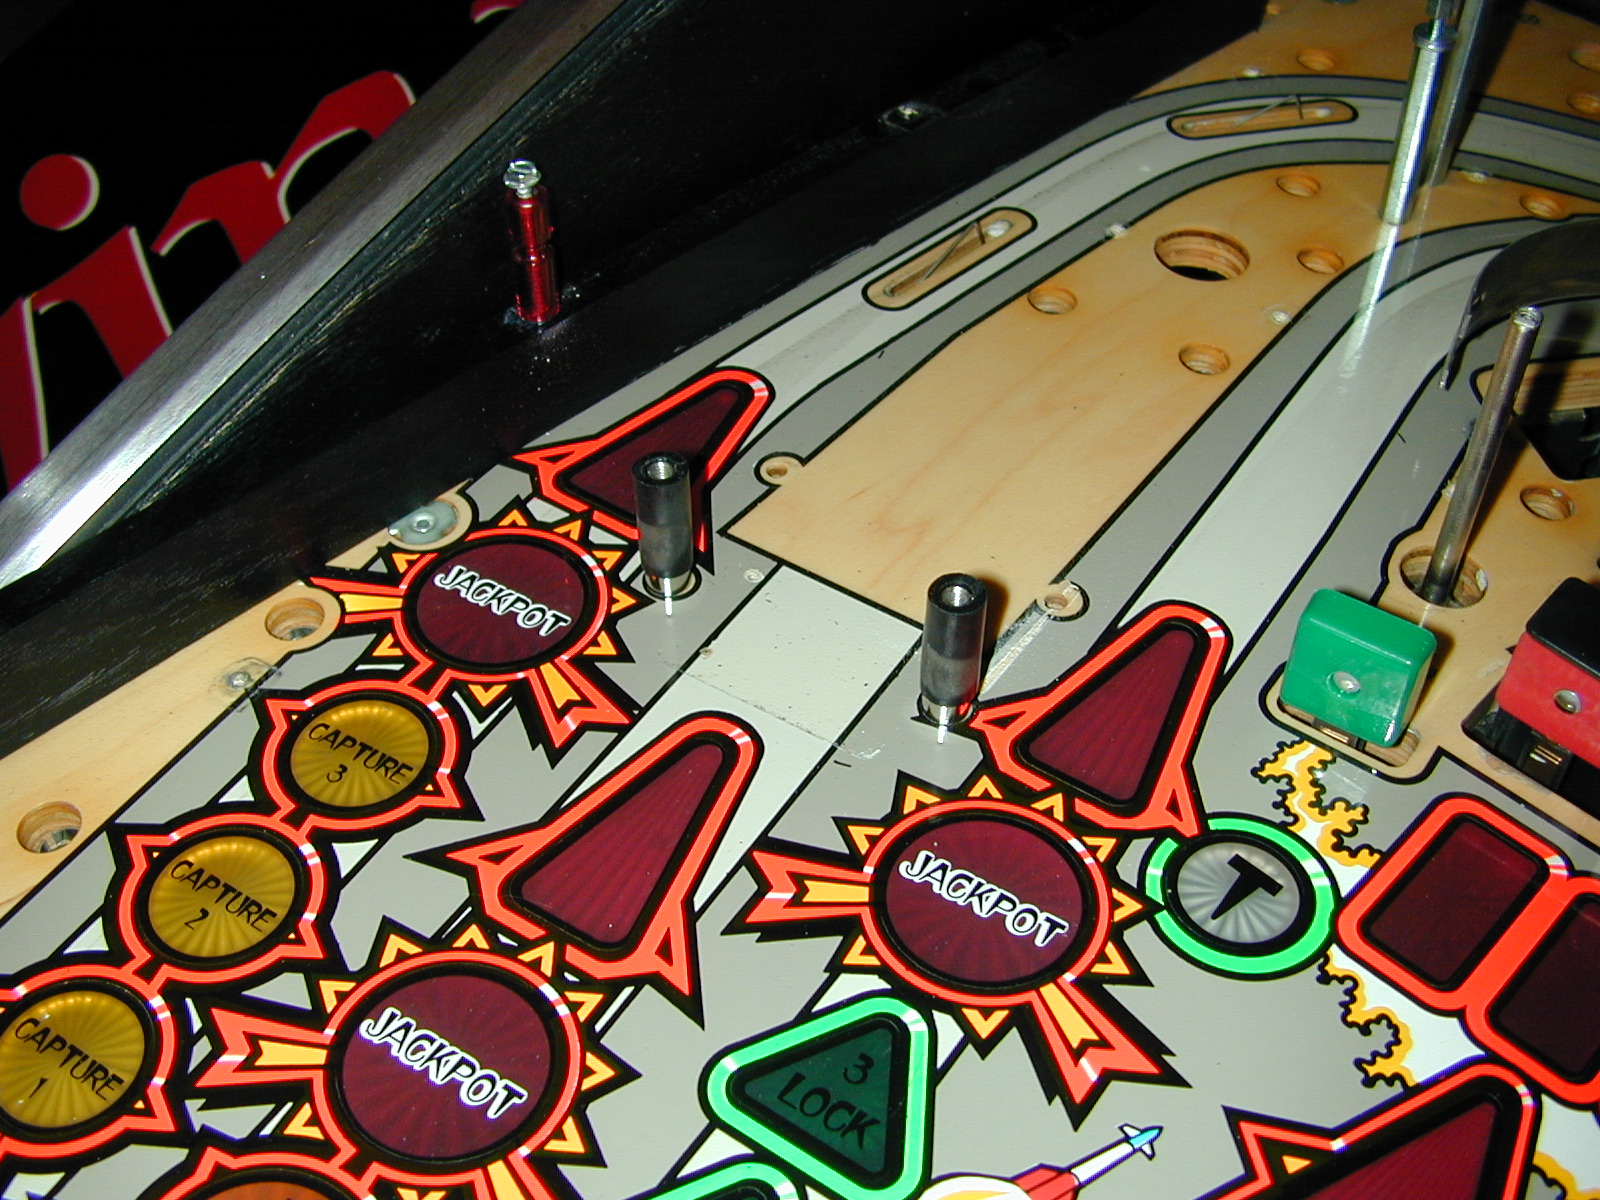
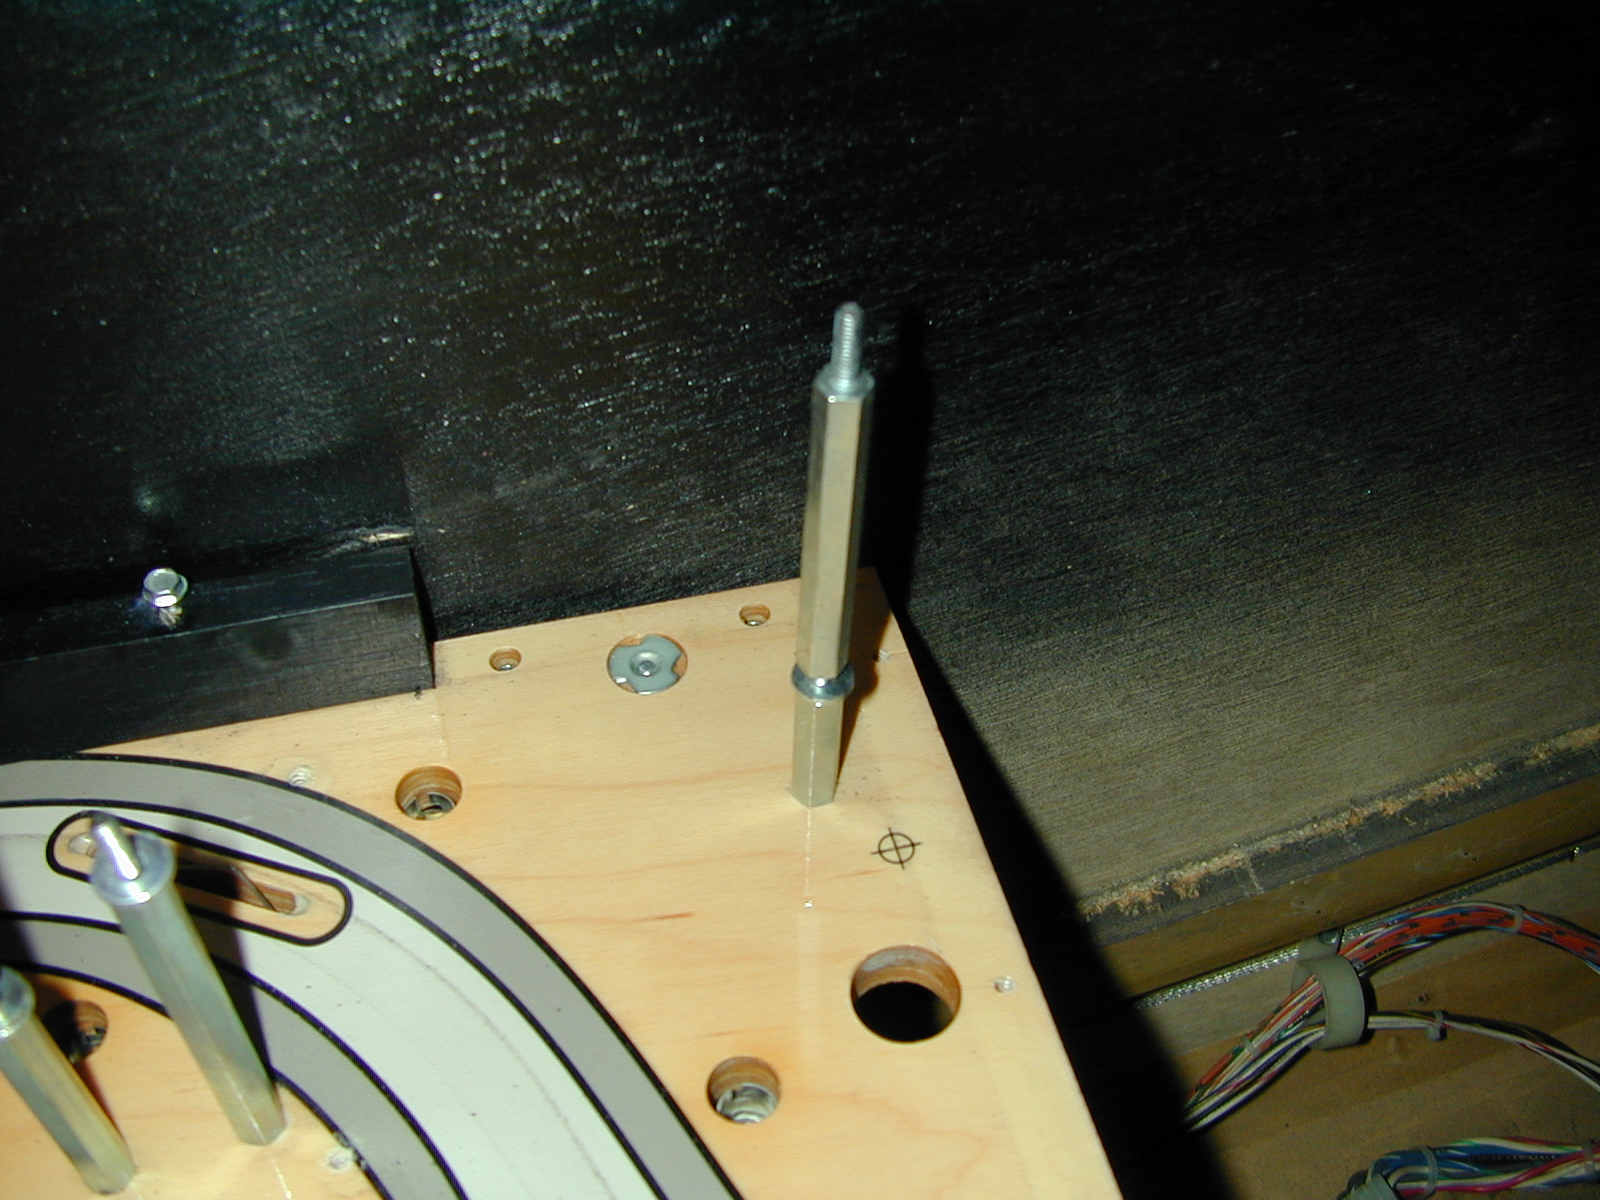
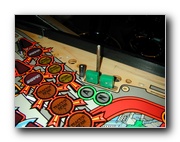
50
Metal post with black rubber sleeve - 1 nut/washer
|
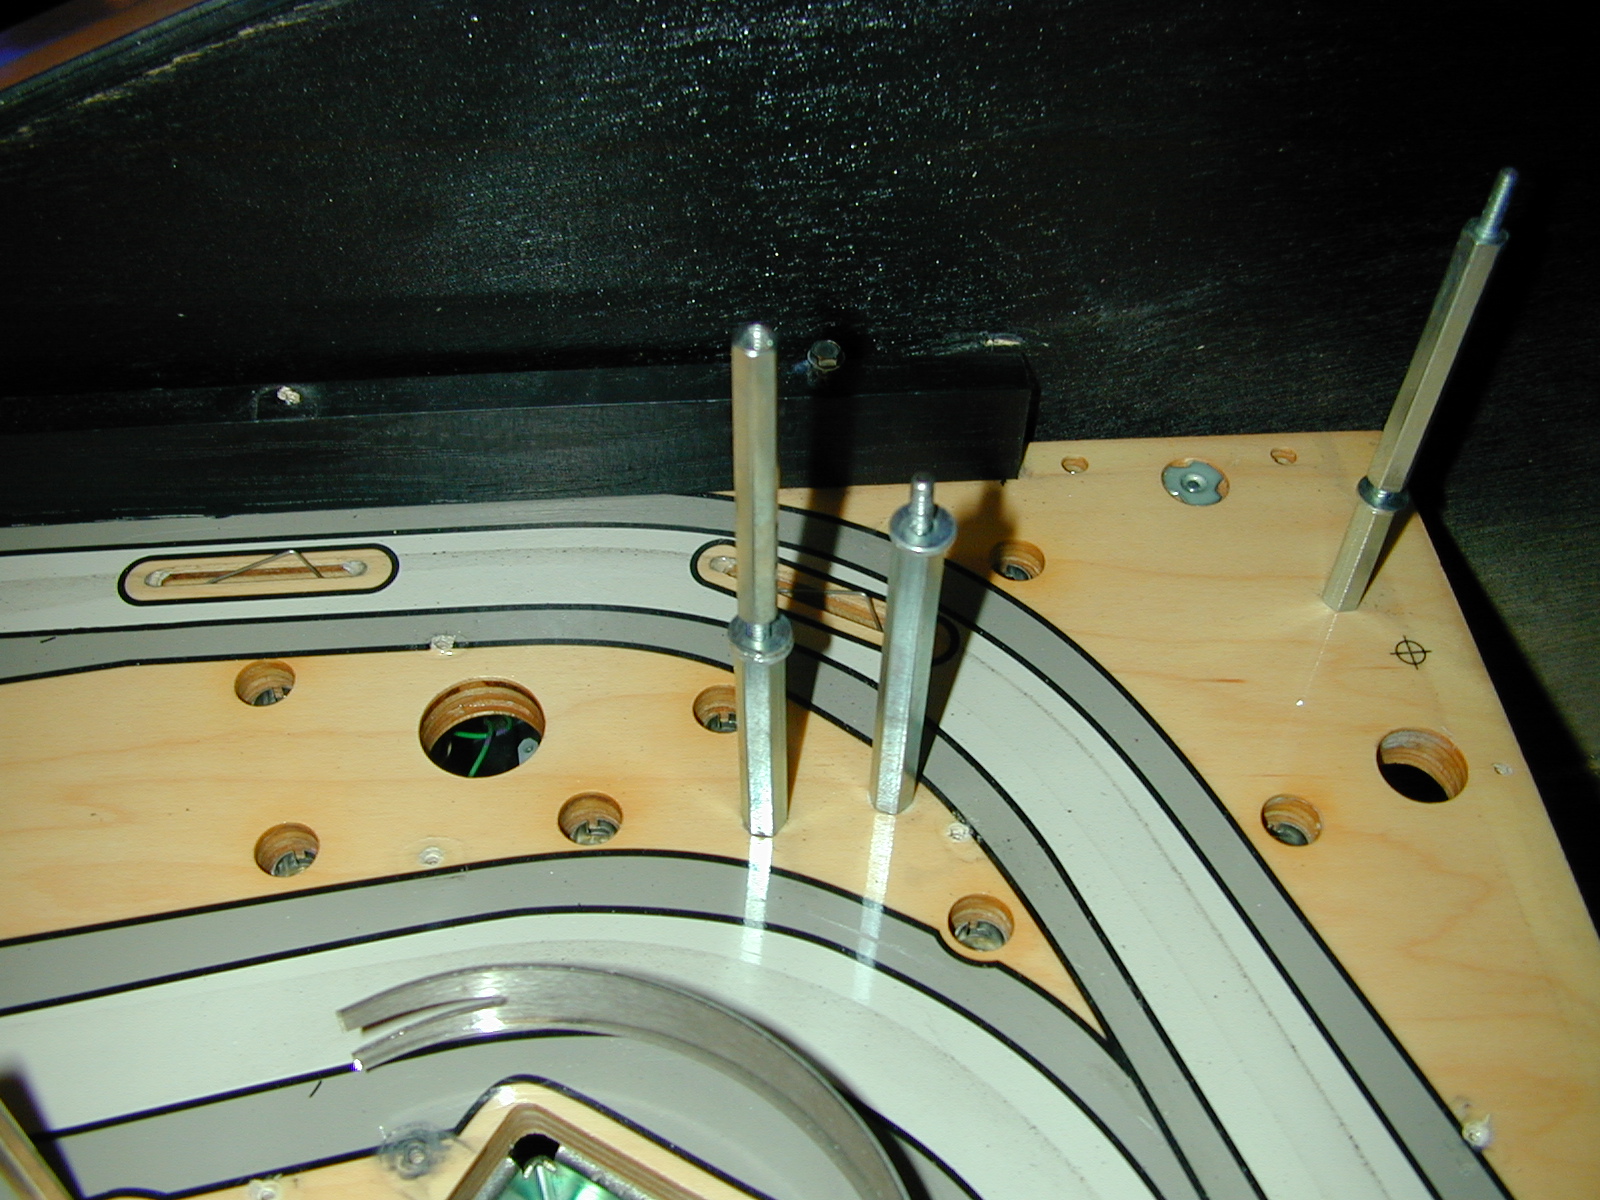
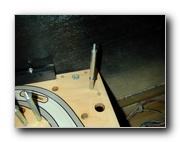
51
2 metal posts with black rubber sleeve - 2 nuts/washers
|
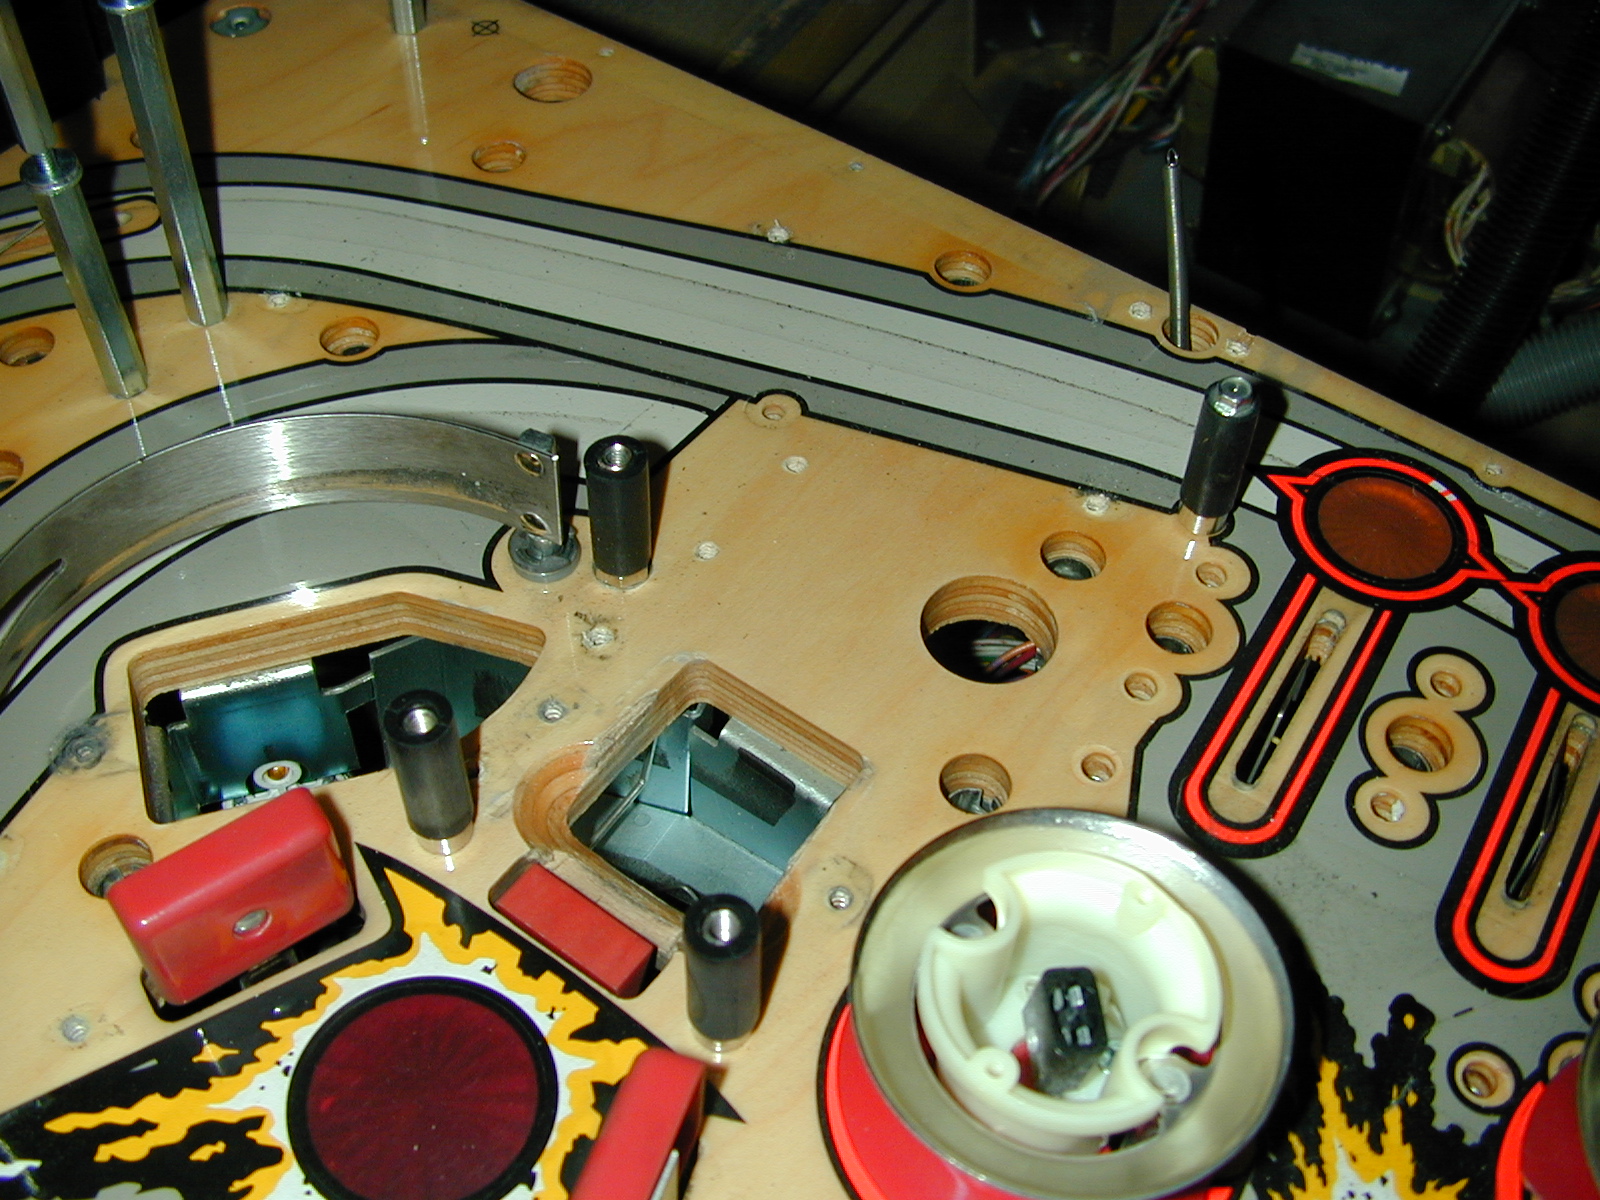
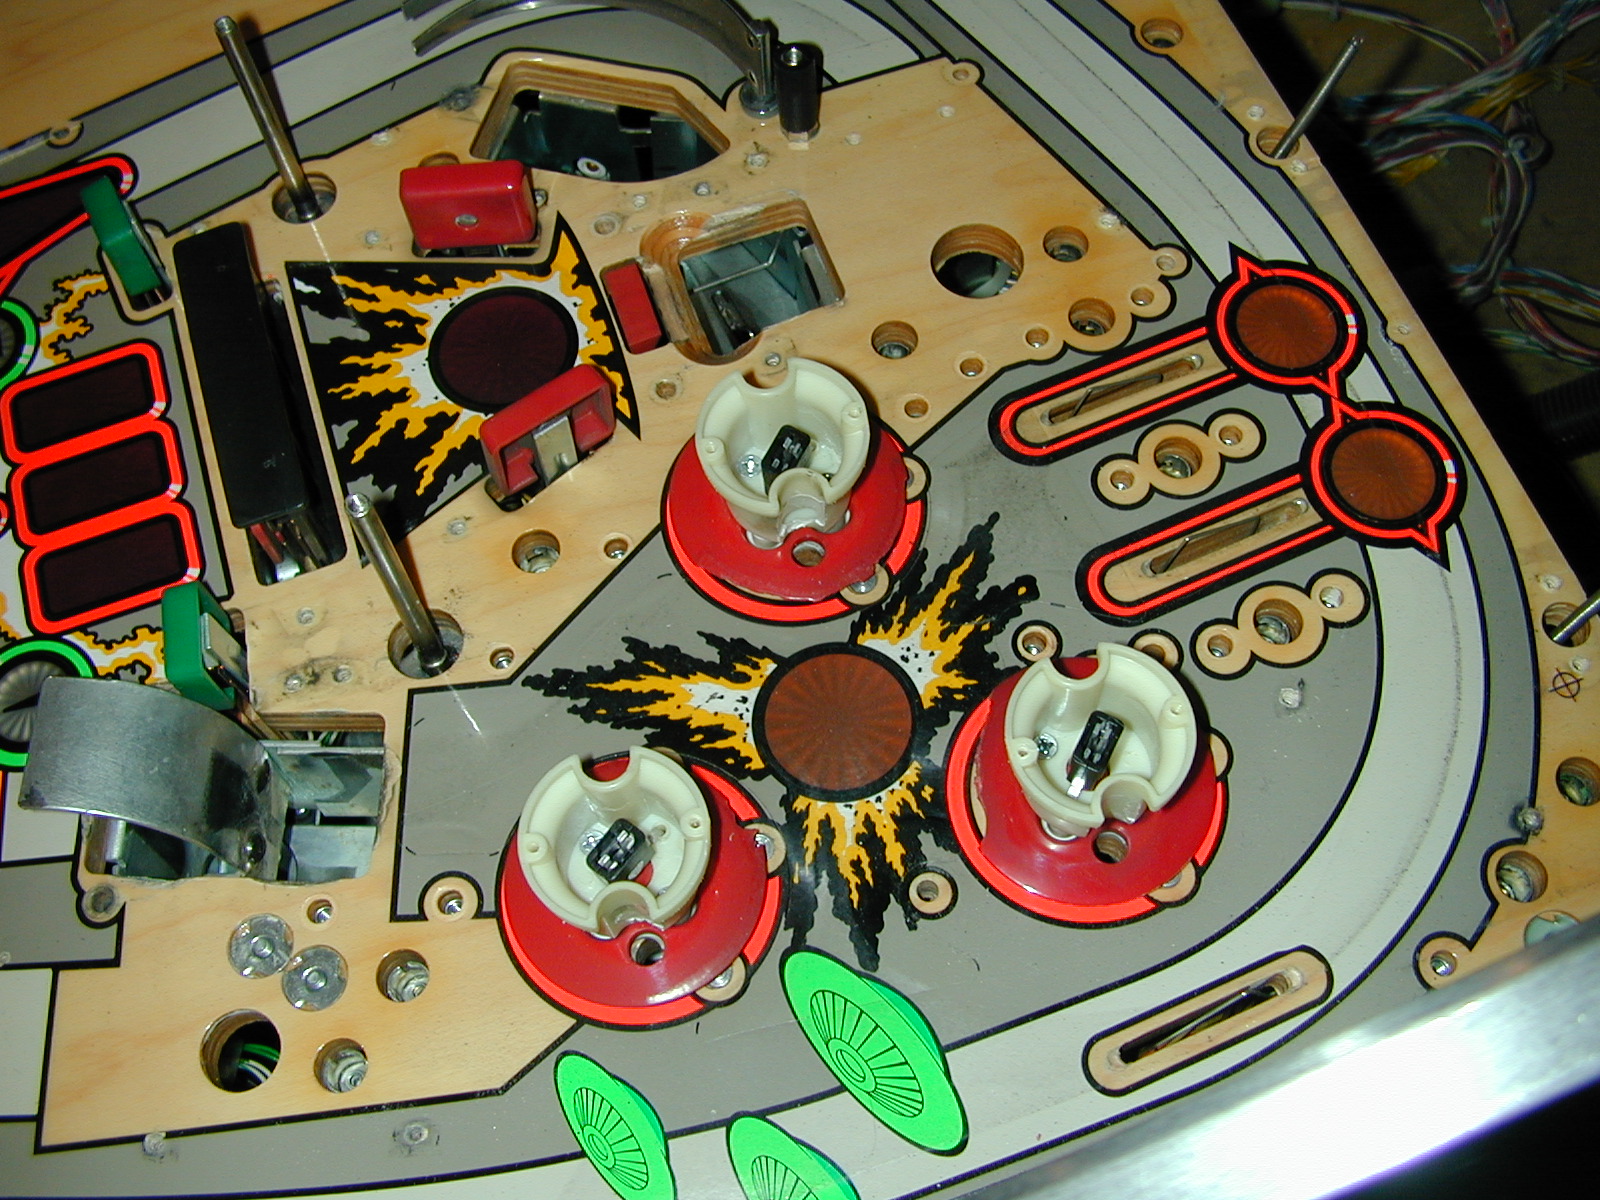
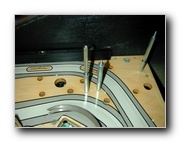
52
4 metal posts with black rubber sleeve - 4 nuts/washers
|
 |
 |
 |
 |
53
Metal post with black rubber sleeve - 1 nut/washer
|
54
2 metal posts with black rubber sleeve - 2 nuts/washers
|
55
Metal post with black rubber sleeve - 1 nut/washer
|
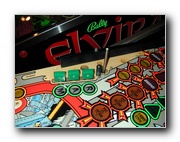
56
Upper left standoffs (short with long on top)
|
 |
 |
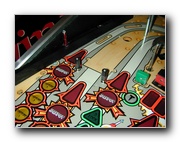
57
2 upper left (lower) standoffs, long upper, 2 stacked below
|
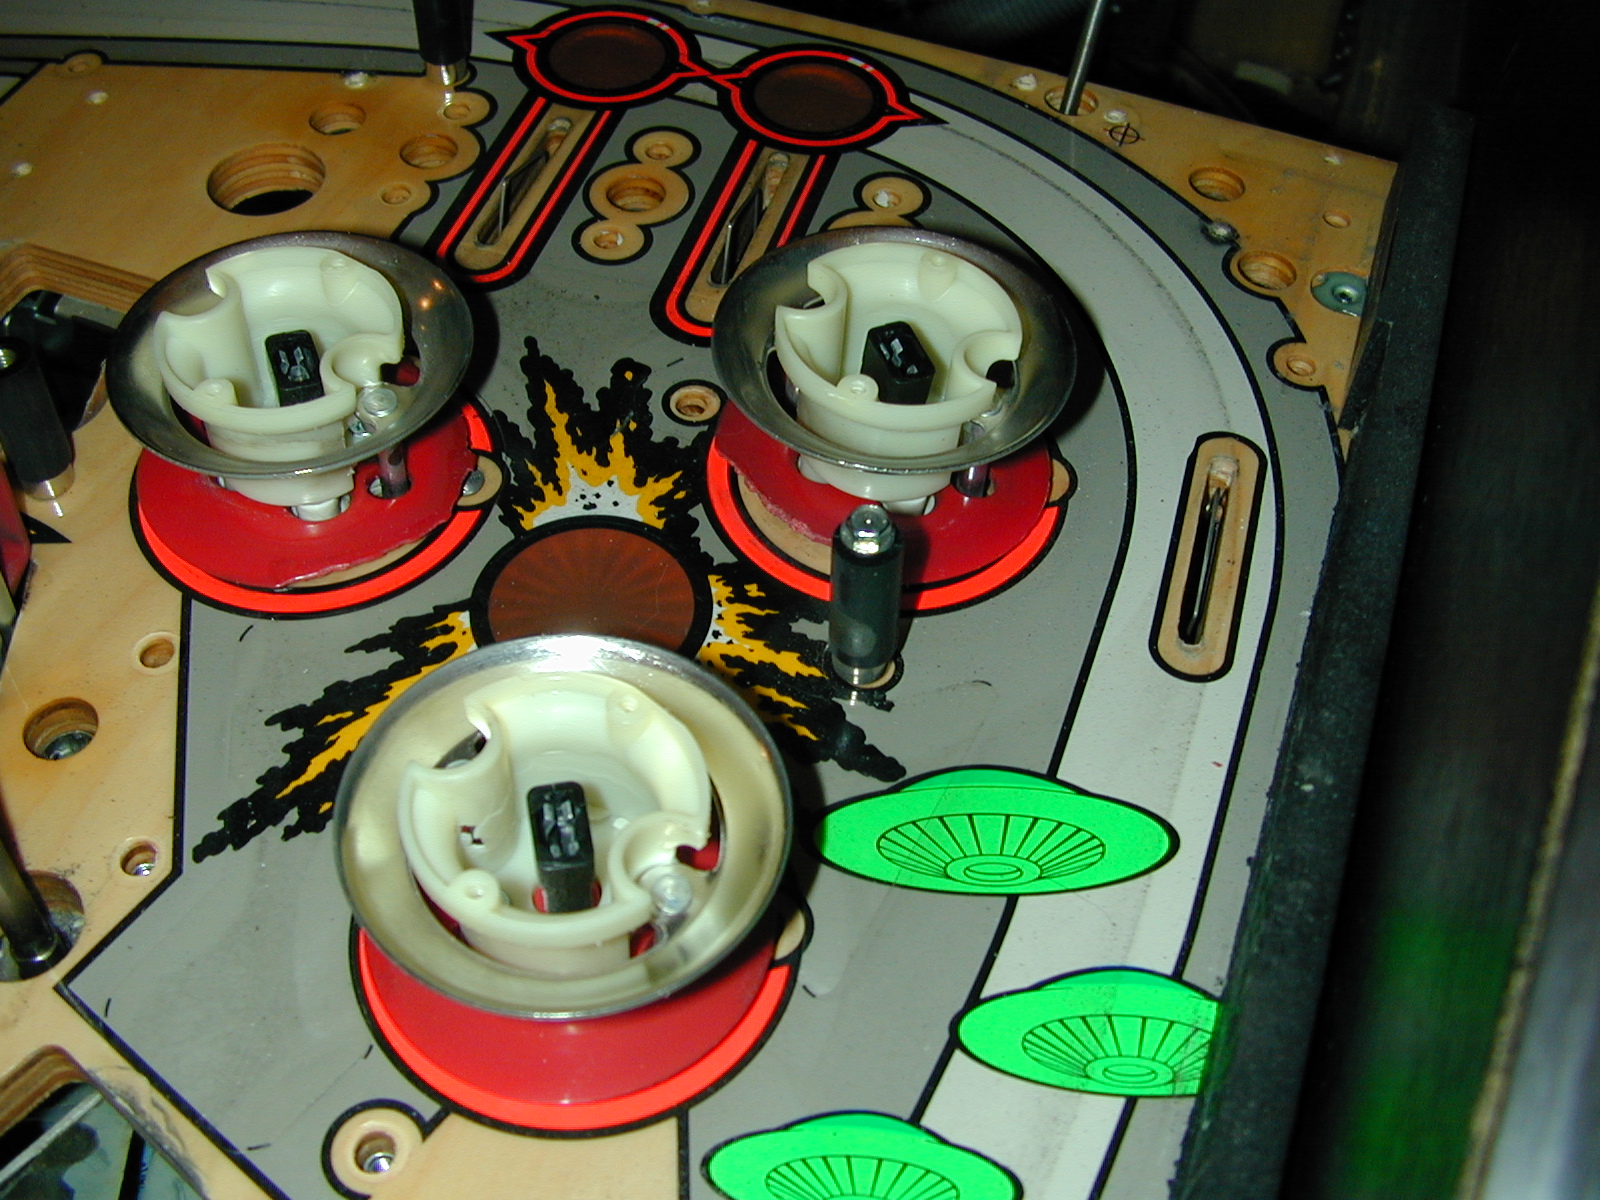
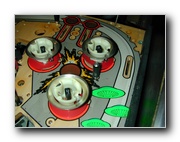
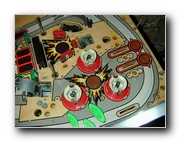
58
3 pop bumper ass'y - 6 WS, 6 nuts/washers
|
|

![[First]](new2_first.png)
![[Prev]](new2_prev.png)